A practical, trainer-approved grooming kit checklist: the right brushes, nail tools, bathing essentials, dental care, and a few sanity-saving extras for stre...
If you have ever looked at the tumbleweed of fur rolling across your floor and thought, “Surely there is a tool for this,” you are absolutely right. The tricky part is that undercoat rakes and slicker brushes do different jobs, and choosing the wrong one can mean anything from “this isn’t working” to “ouch, that scratches.”
Before we get into tools, here is the coat-language in plain English: a double coat has a longer topcoat (guard hairs) plus a softer undercoat that sheds out seasonally. A single coat or hair-growing coat is mostly one layer that behaves more like hair than “blowout” fur, and it tends to tangle or keep growing depending on the dog.
Below, I will break down what each tool is designed to do, which coats they actually help, and how to use them in a way your dog can tolerate and maybe even enjoy. Yes, really.
The quick difference
Undercoat rake: Designed to reach through the topcoat and pull out loose undercoat (the soft layer that blows out seasonally). Best for double-coated dogs that shed heavily.
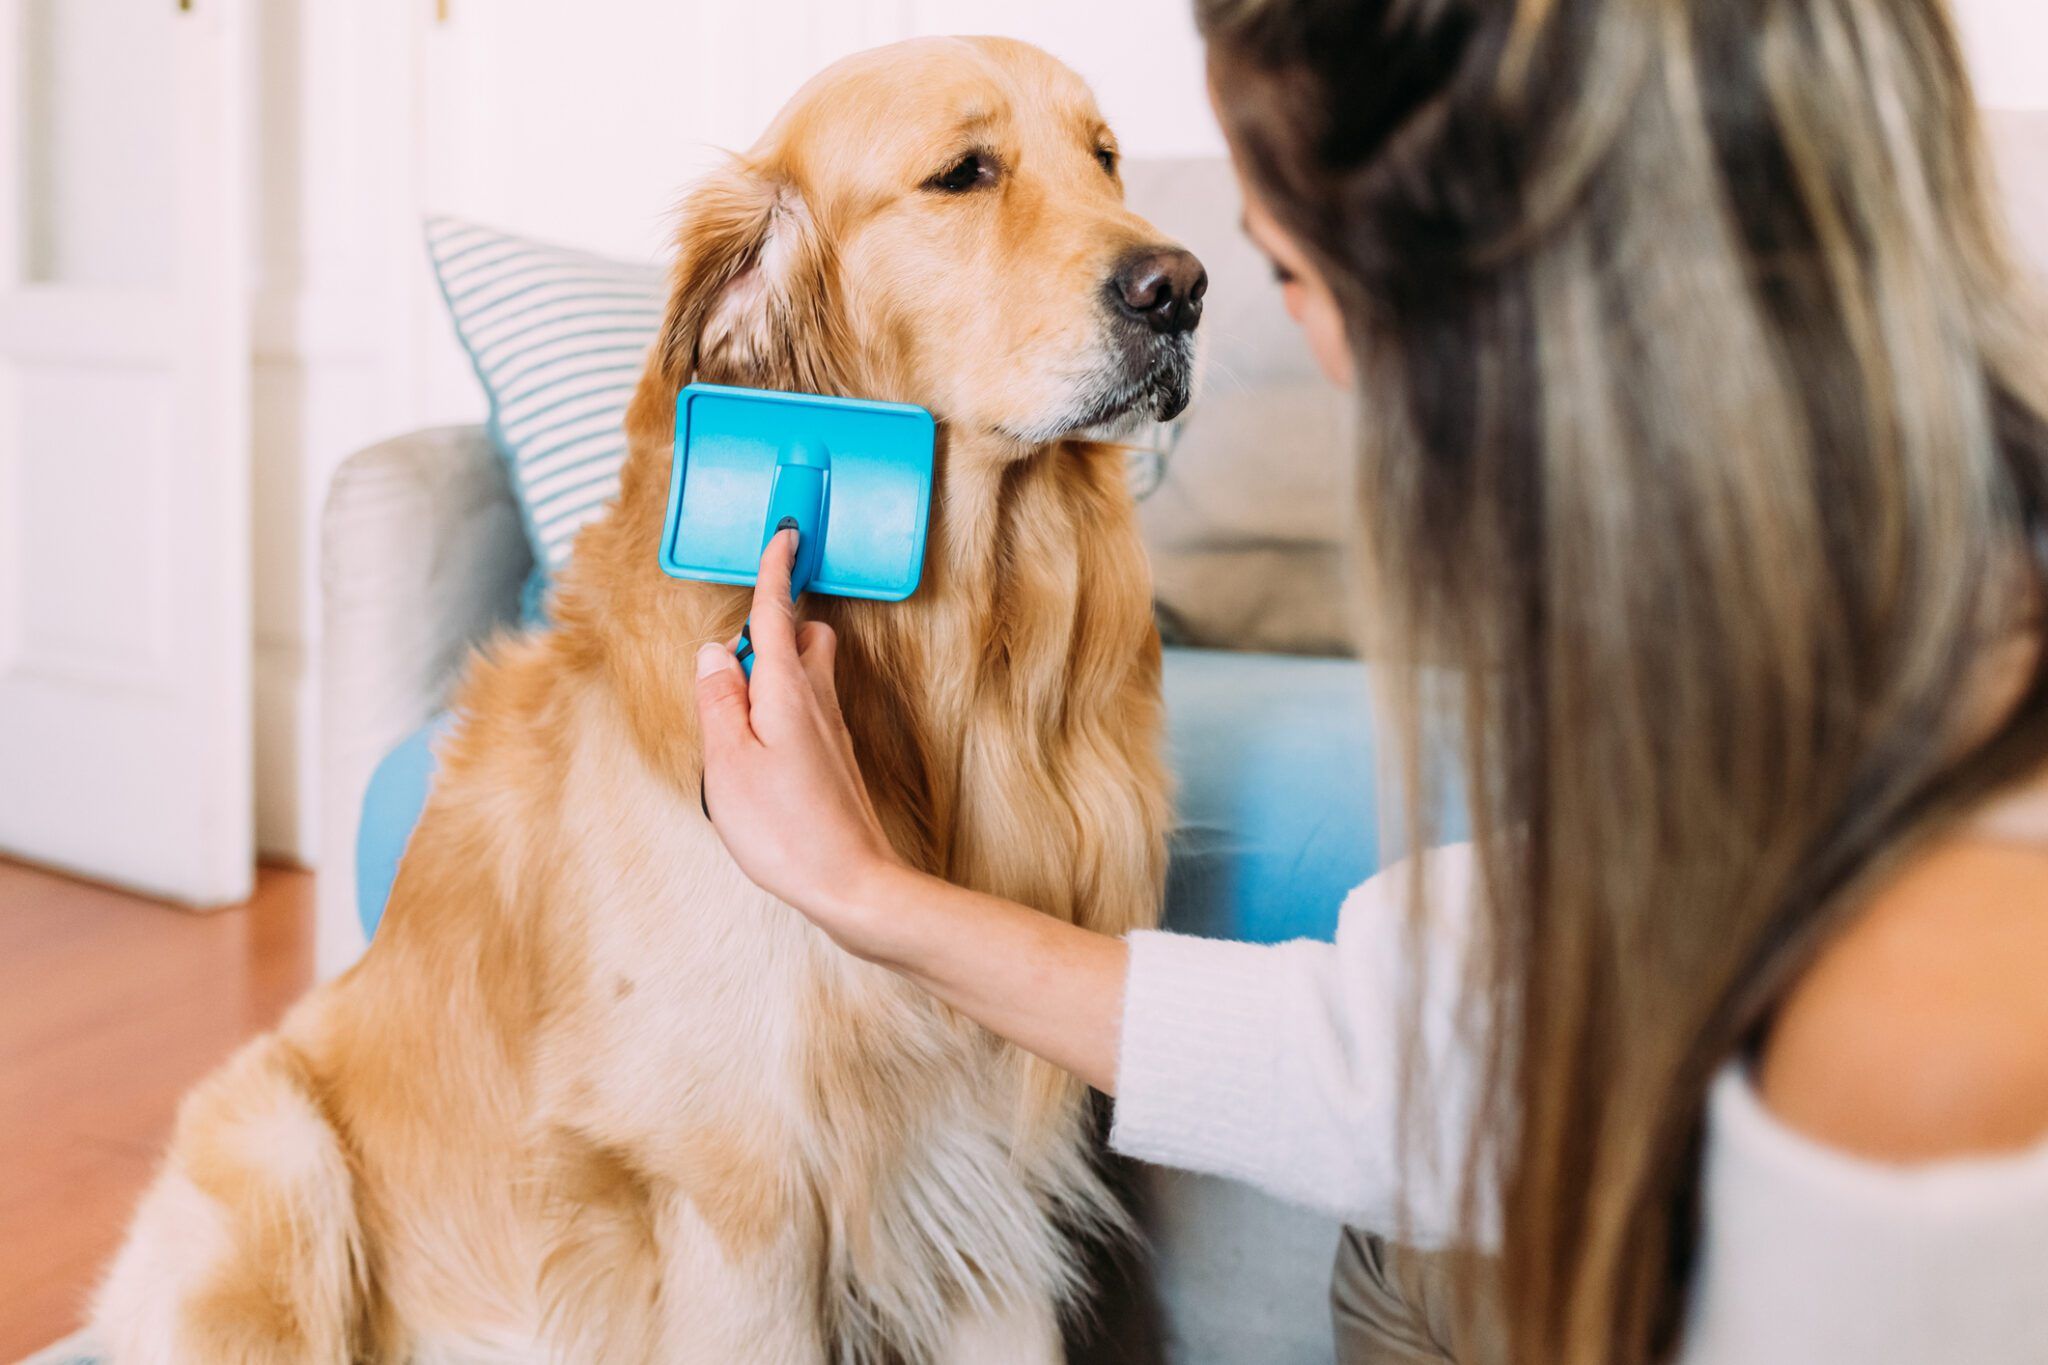
Slicker brush: Designed to detangle, smooth, and remove loose hair near the surface. Best for dogs prone to tangles and mats, and dogs with longer coats, feathering, or curly textures.
There is overlap, but the goal matters: rakes lift and pull loose undercoat, while slickers separate and smooth hair and help you find tangles before they become mats.
Undercoat rakes: what they do
What an undercoat rake does
An undercoat rake has one or two rows of widely spaced metal teeth. When used correctly, it slides through the guard hairs (topcoat) and grabs loose undercoat to remove it efficiently.
This is why rakes feel so satisfying during seasonal shedding. You are not just skimming the surface. You are pulling out the fluff that would otherwise end up on your couch, your leggings, and your dog’s favorite water bowl.
Best coat types for an undercoat rake
- Double coats with medium to long hair: Golden Retrievers, German Shepherd Dogs, Rough Collies, many spitz types
- Thick undercoat “blowout” shedders: Huskies, Malamutes, Samoyeds (with extra care and the right tooth length)
- Dense coats with feathering: Many retrievers and sporting breeds
When an undercoat rake is not your best tool
- Short, smooth coats (even if they shed a lot): Think Labrador Retriever length. A rake is often less effective than other options, and overdoing it can irritate skin. Some dogs do fine with careful, light use, but many owners get better results with a rubber curry or a purpose-built deshedding tool.
- Hair-growing or low-shed coats: Poodles and many mixes with hair that keeps growing do not have the same undercoat to pull. Raking can create breakage and make coat care harder.
- Terrier-type coats vary: Some terriers are more “single coat,” some have undercoat, and some are a mix. If you are not sure what your dog has, start with a comb and a gentle slicker before reaching for a rake.
- Curly coats that mat: A rake can snag, and it is not a detangling tool.
Pros and cons
Pros: Excellent for heavy undercoat shedding, fast results, can reduce clumping and improve airflow by removing packed dead coat.
Cons: Easy to overuse, can cause friction or “rake burn,” can snag on tangles, not ideal for sensitive skin or very short coats.
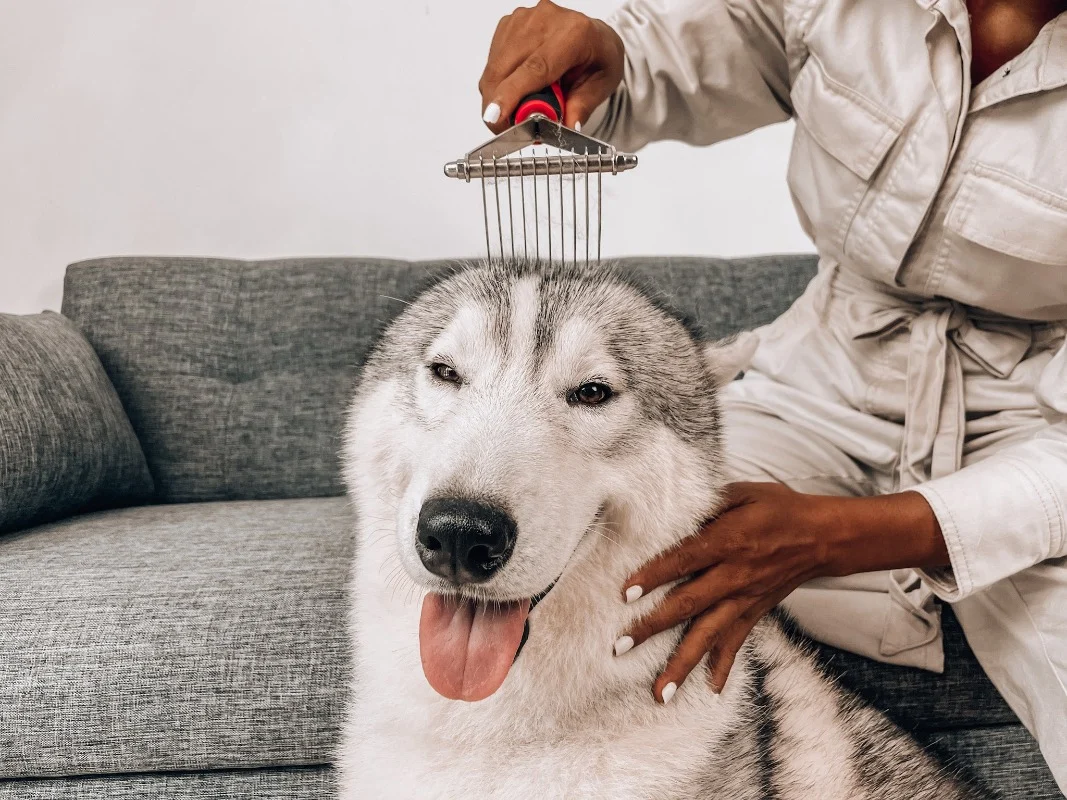
How to use an undercoat rake safely
- Start with a quick tangle check: If your fingers or a wide-tooth comb catch, fix the tangle first. A rake is not for knots.
- Use light pressure: Think “lift loose fluff,” not “dig.” The teeth should glide, not scrape.
- Work in small sections: Shoulder, side, rump, chest. Stop when the tool stops pulling hair. More passes after that usually equals irritation.
- Avoid the most sensitive zones: Belly, armpits, groin, inside thighs, and behind ears are typically better handled with gentler tools.
- Keep sessions short: 3 to 10 minutes is plenty for most dogs, especially beginners.
Slicker brushes: what they do
What a slicker brush does
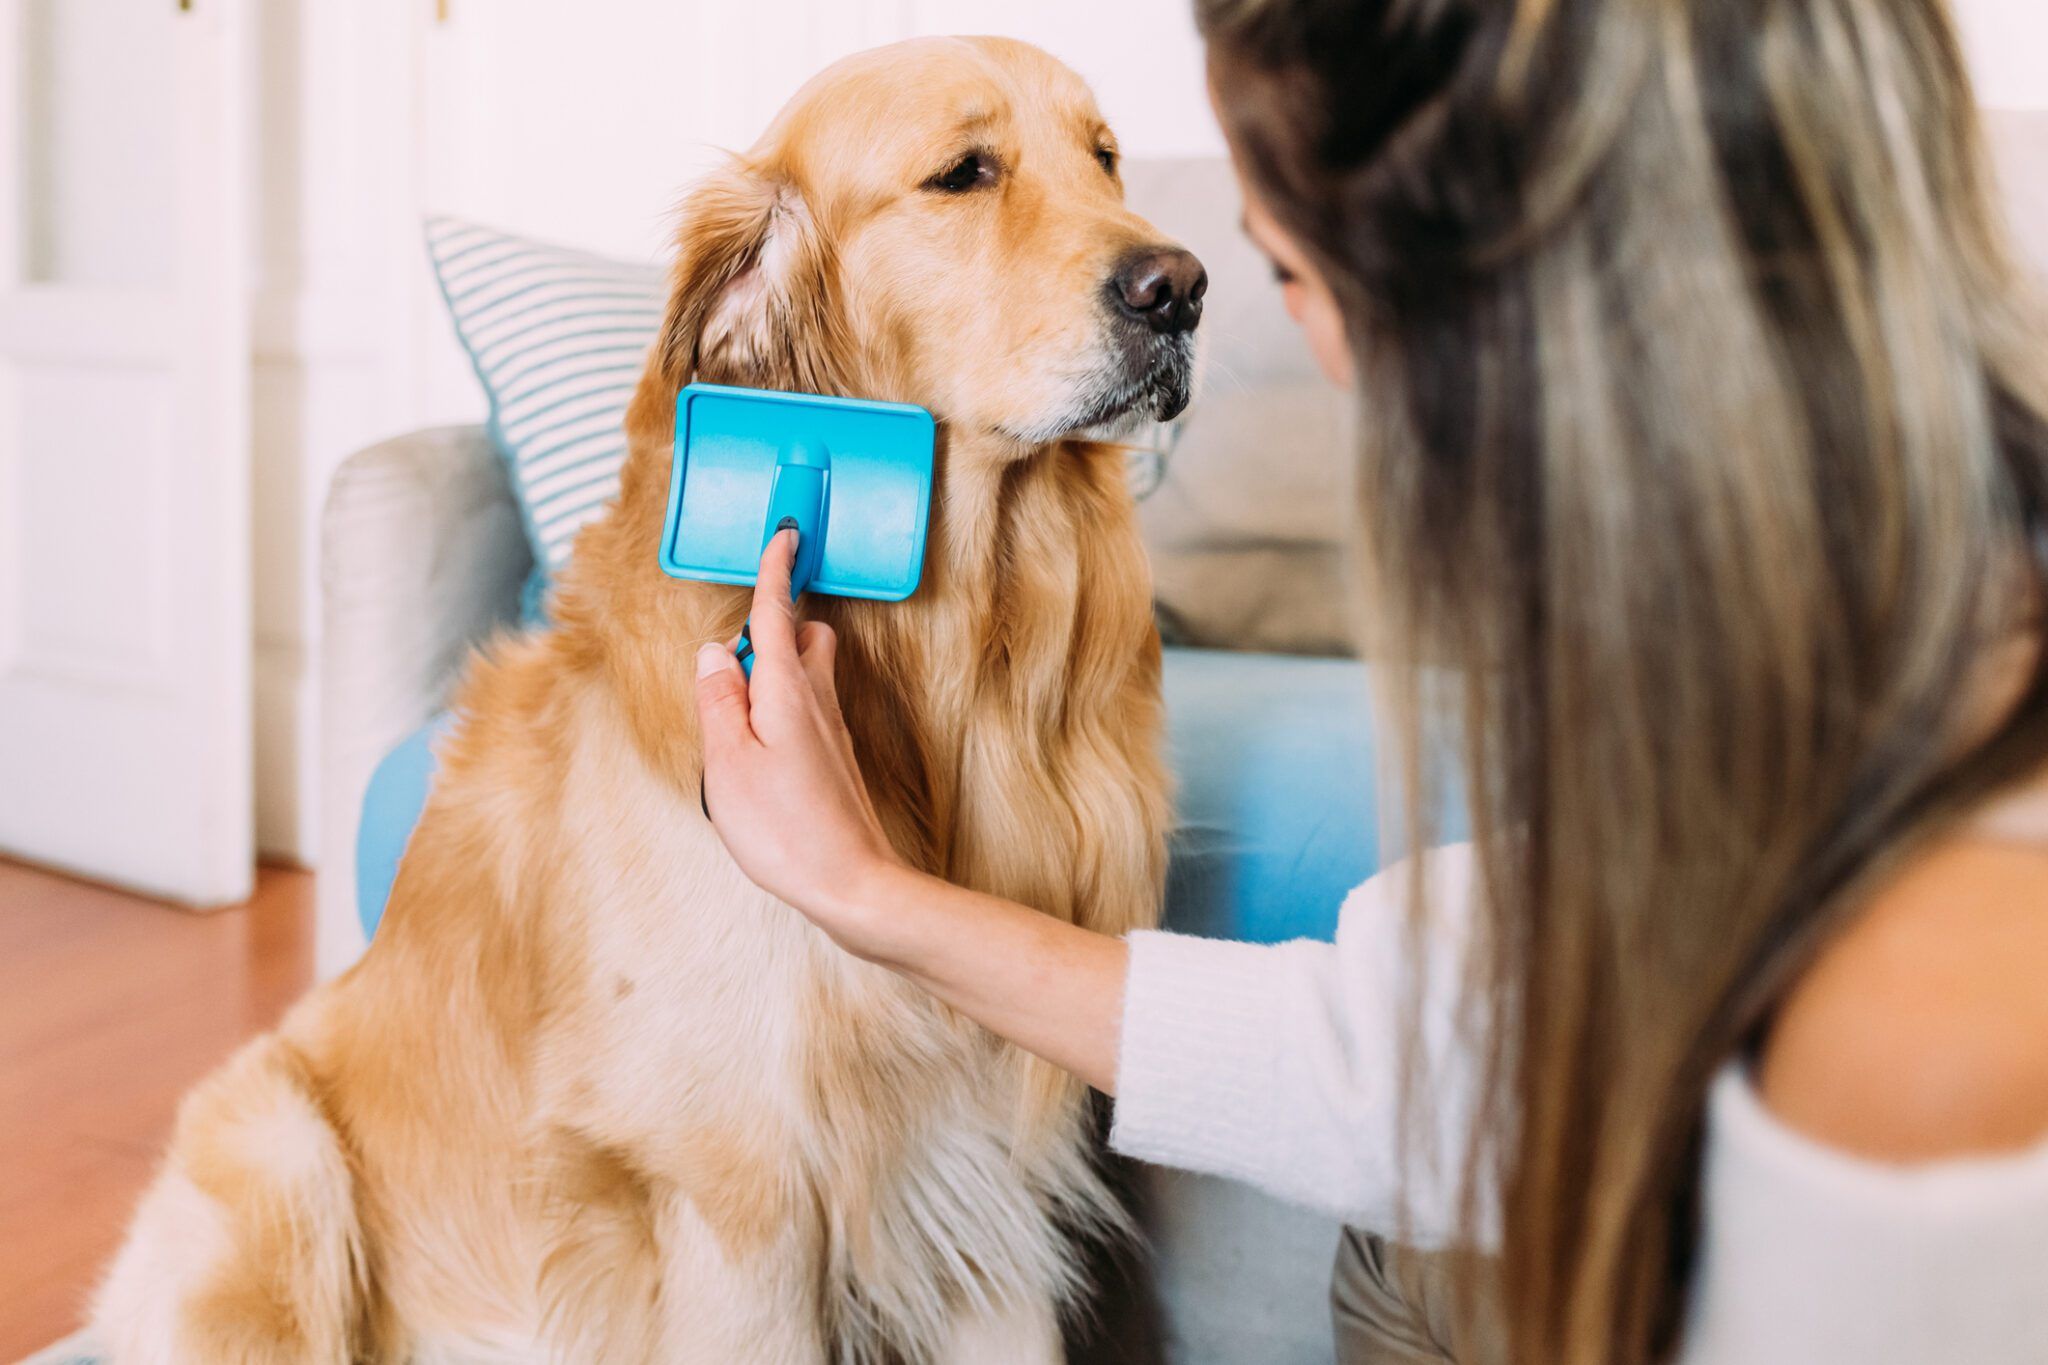
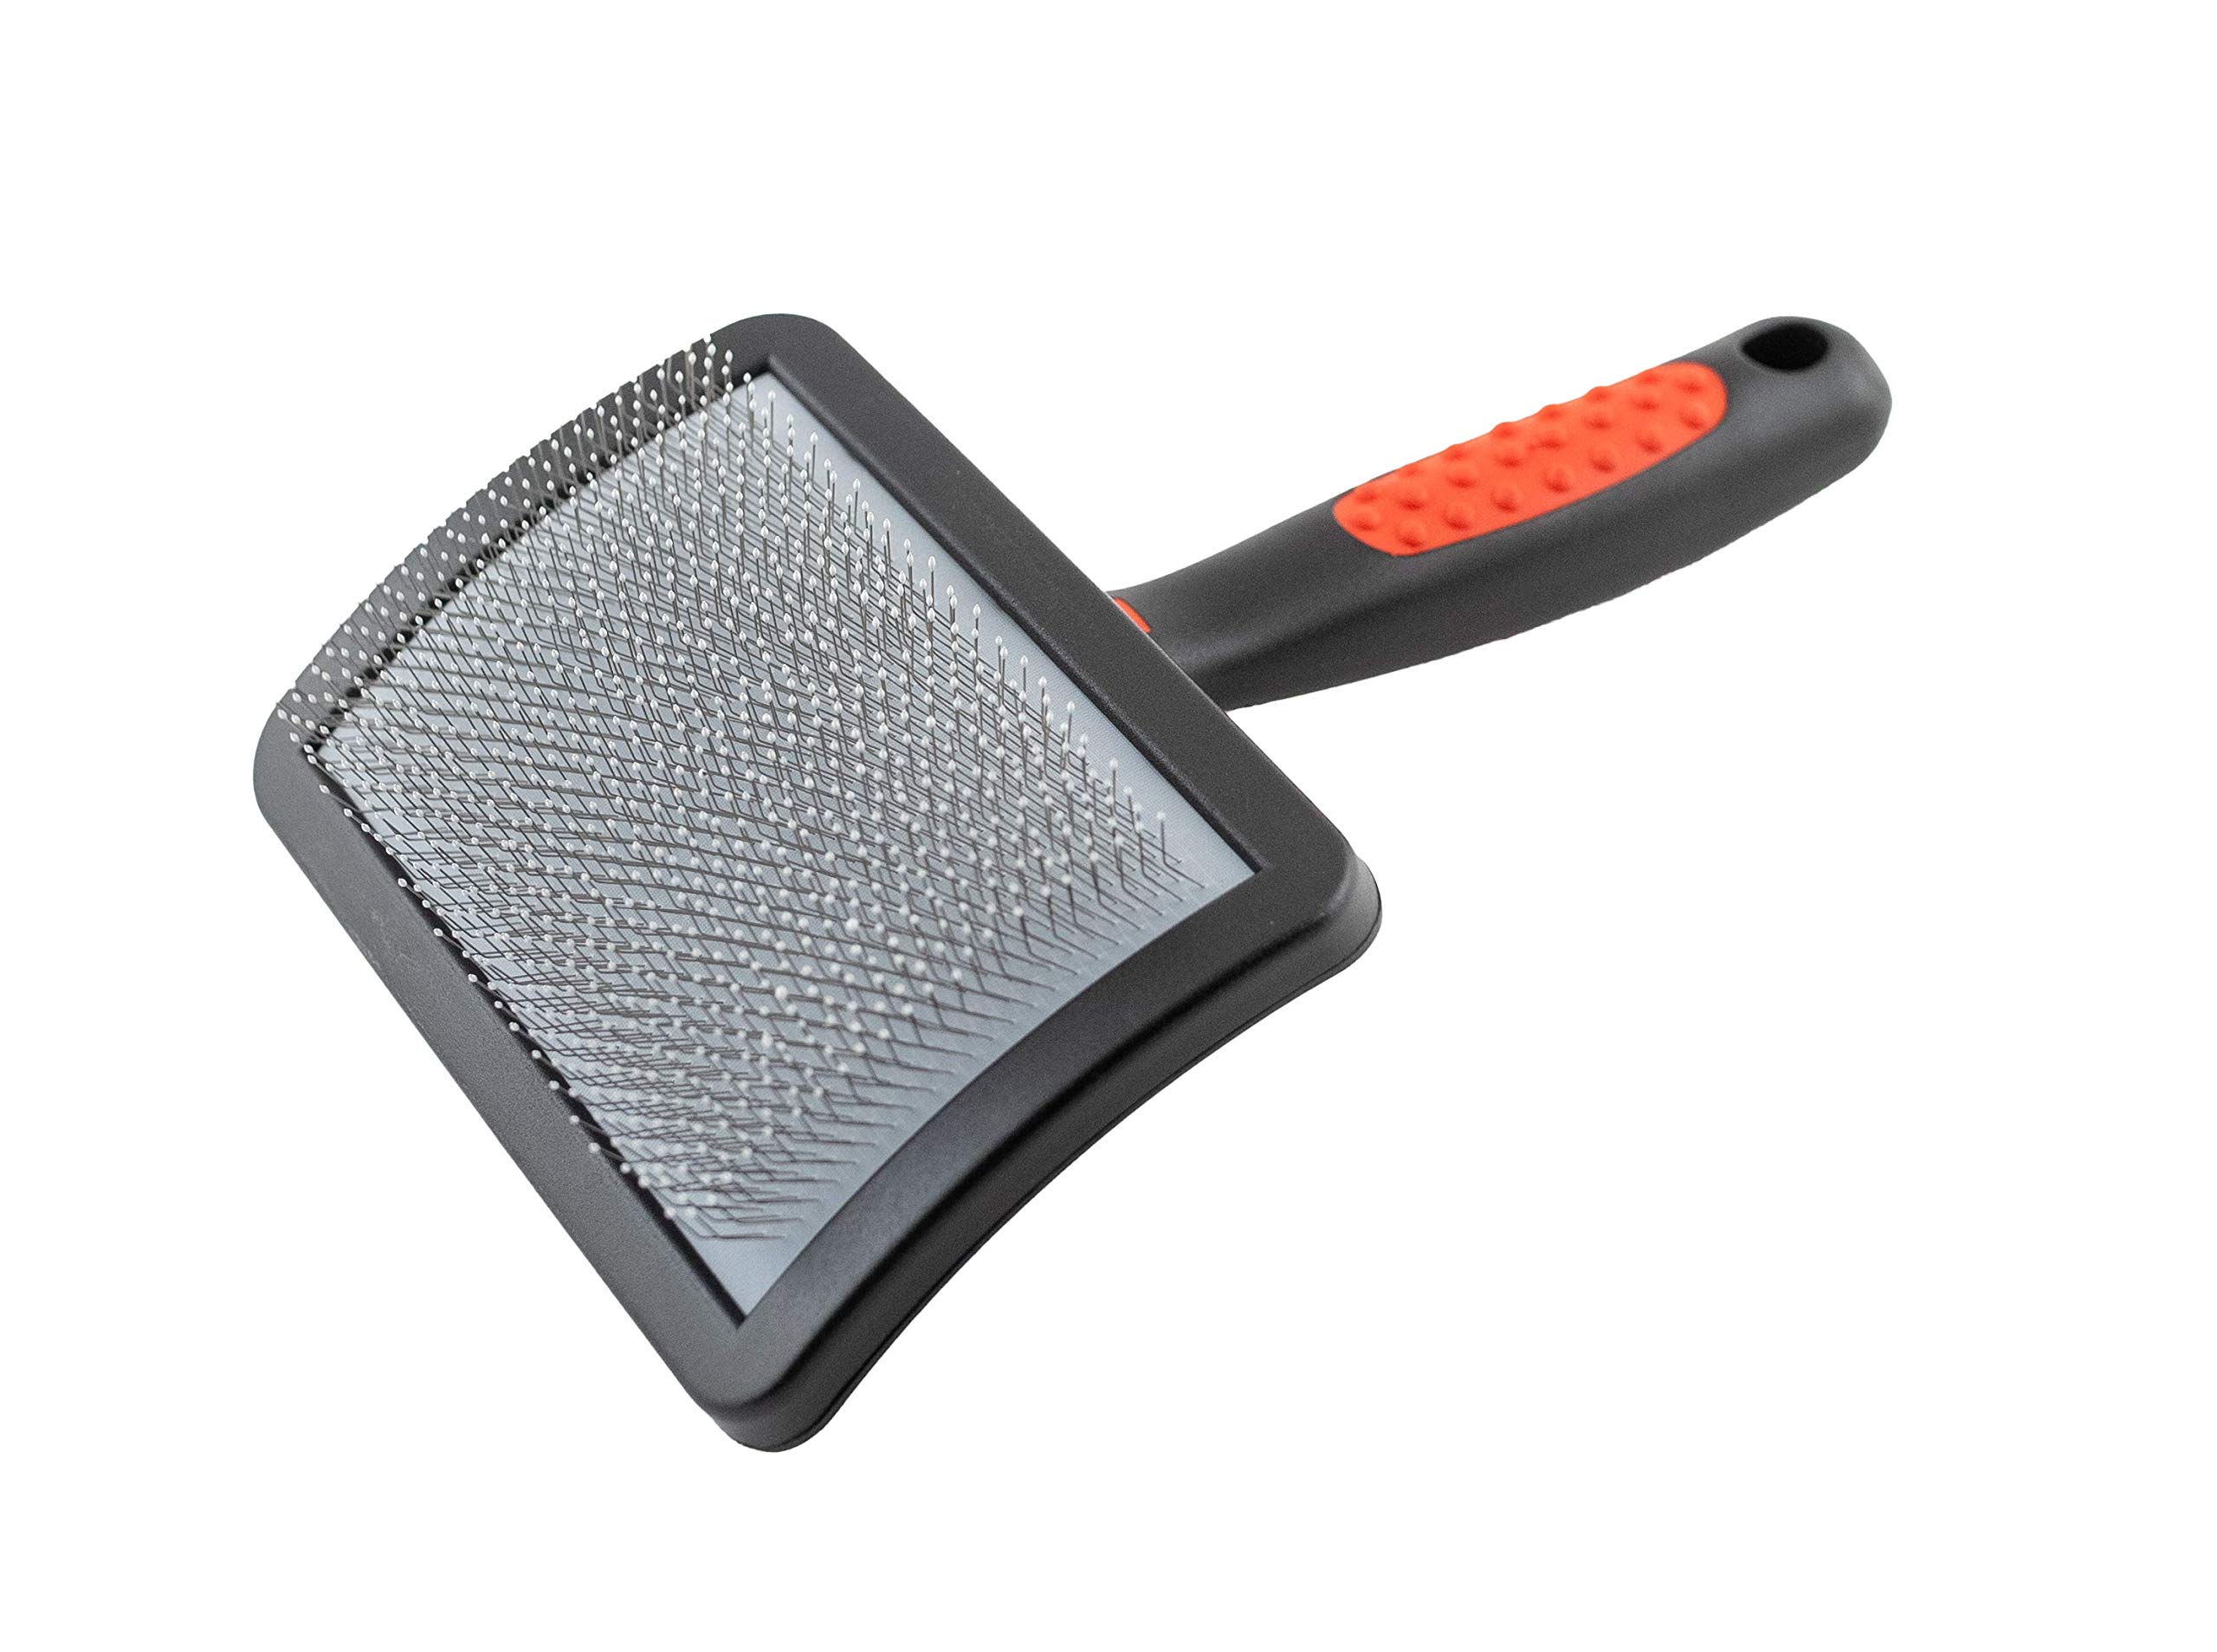
A slicker brush is a flat or slightly curved pad with many fine bent wires. Slickers separate hair, pull out loose coat near the surface, and help you find small tangles early. They are a go-to tool for coats that love to mat, especially in friction areas like armpits, collars, and behind the ears.
Best coat types for a slicker brush
- Long-coated dogs: Shelties, Shih Tzus, Havanese, many spaniels
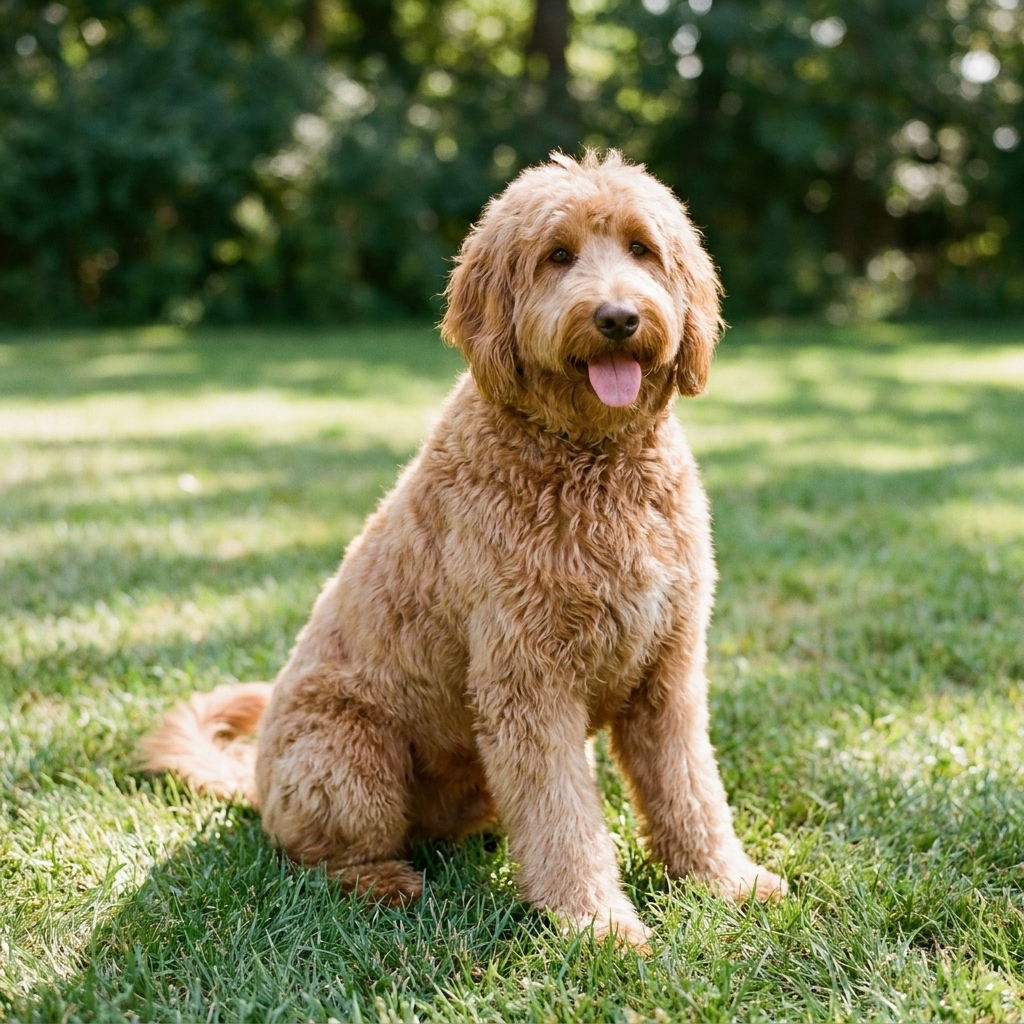
- Curly or wavy coats: Poodles and doodle mixes (in combination with combing)
- Dogs with feathering: Ears, legs, tail, and belly fluff that tangles easily
- Double coats needing surface maintenance: Especially between baths or after outdoor adventures
When a slicker brush is not your best tool
- Very short, smooth coats: Often better served by a rubber curry brush or grooming glove.
- Dogs with very sensitive skin: A slicker can scratch if you use pressure or the wrong brush type.
Pros and cons
Pros: Great for preventing and breaking up small tangles, helps remove surface shedding, excellent for finishing and fluffing, versatile across many coat types.
Cons: Can cause brush burn if used with too much pressure or too long, can mask deeper tangles unless you follow with a comb.
How to use a slicker brush safely
- Use “pat and pull,” not scraping: Place the brush, gently pull through a short stroke, lift off. Repeated long scraping strokes are a common cause of irritation.
- Line brush for long or thick coats: Lift a layer of coat with one hand and brush a thin line at a time from skin outward. This prevents you from only grooming the top layer.
- Always follow with a comb if mats are a risk: If a metal comb cannot pass through to the skin, there is still tangling there.
- Watch friction zones closely: Collar area, harness straps, behind ears, armpits, and the long thigh feathering (often called “pantaloons”).
Which tool should you choose?
If your dog has a thick double coat and sheds in waves
Choose an undercoat rake as your main deshedding tool, and keep a slicker for touch-up work and feathering.
Examples: German Shepherd Dog, Golden Retriever, many northern breeds and mixes.
If your dog has long hair that tangles or mats
Choose a slicker brush as your primary tool, and pair it with a metal comb. An undercoat rake is optional and only appropriate if the dog truly has an undercoat and you can glide through without snagging.
Examples: doodle mixes, spaniels, collie-type coats with lots of feathering.
If your dog has a short, smooth coat (even if they shed a lot)
Neither tool is usually the star of the show. You will typically get better results from a rubber curry brush, grooming glove, or a soft bristle brush. If you do use a slicker, keep it very gentle and brief.
Examples: Labs, pit bull-type mixes, boxers.
If your dog is low-shed or hair-growing
A slicker can be helpful for coat maintenance (especially longer coats), but a rake is often unnecessary and can create breakage.
Examples: Poodle-type coats, Maltese-style hair coats, many “hair” mixes.
How to tell you chose wrong
- Your dog’s skin looks pink or irritated after grooming: This is often too much pressure, too many passes, or a too-stiff slicker.
- You hear or feel snagging: Stop and address tangles with a comb or detangling spray. Tools should glide through loose hair, not yank.
- Lots of fur is coming out but your dog seems uncomfortable: Reduce pressure, shorten sessions, and focus on cooperative breaks.
- No fur is coming out and you are tempted to press harder: That is your sign the tool is not a match for the coat, or the coat is not ready. For many dogs, impacted coat, packed undercoat, or heavy dirt can make tools feel useless until you do better coat prep.
A simple home routine
If you have a dog who sheds and you want a simple plan that does not turn grooming into a wrestling match, try this:
- Step 1: 30 seconds of treats and calm handling (touch brush to shoulder, treat, repeat).
- Step 2: 3 to 5 minutes with the right tool for your dog (rake for undercoat blowouts, slicker for tangles and surface shed).
- Step 3: Quick comb check on friction zones (behind ears, armpits, collar area).
- Step 4: End while your dog is still doing great. You can always do another mini-session tomorrow.
This is not just about manners. It is about making grooming predictable and safe, which reduces stress for everyone and makes it easier to keep up with it consistently.
Coat prep that helps
- Use a light detangling spray when needed: Especially for feathering, collars, and any area that grabs your comb.
- Do not brush a coat that mats while it is wet: Many long and curly coats tighten into tangles when damp. If you need to work damp, use a conditioner and very gentle technique.
- Bath and dry can make deshedding easier: For many double coats, a thorough bath and fully drying the coat (a high-velocity dryer is the gold standard) helps loosen undercoat so your tools can do their job without as much pulling.
Tool features that matter
For undercoat rakes
- Tooth length: Longer teeth for longer coats. Too short and you will not reach undercoat. Too long and you may catch skin folds or snag more easily.
- Rounded tooth tips: Helps reduce scratching.
- Single vs. double row: Double rows can pull more coat faster but are easier to overdo on sensitive dogs.
- Comfort grip: Your wrist will thank you during seasonal shedding.
For slicker brushes
- Pin softness: Some slickers are very firm. Sensitive dogs often do better with softer pins.
- Brush shape: Slightly curved slickers can be easier to use on rounded body areas, but technique matters more than shape.
- Size: Smaller heads give more control for legs, ears, and puppies.
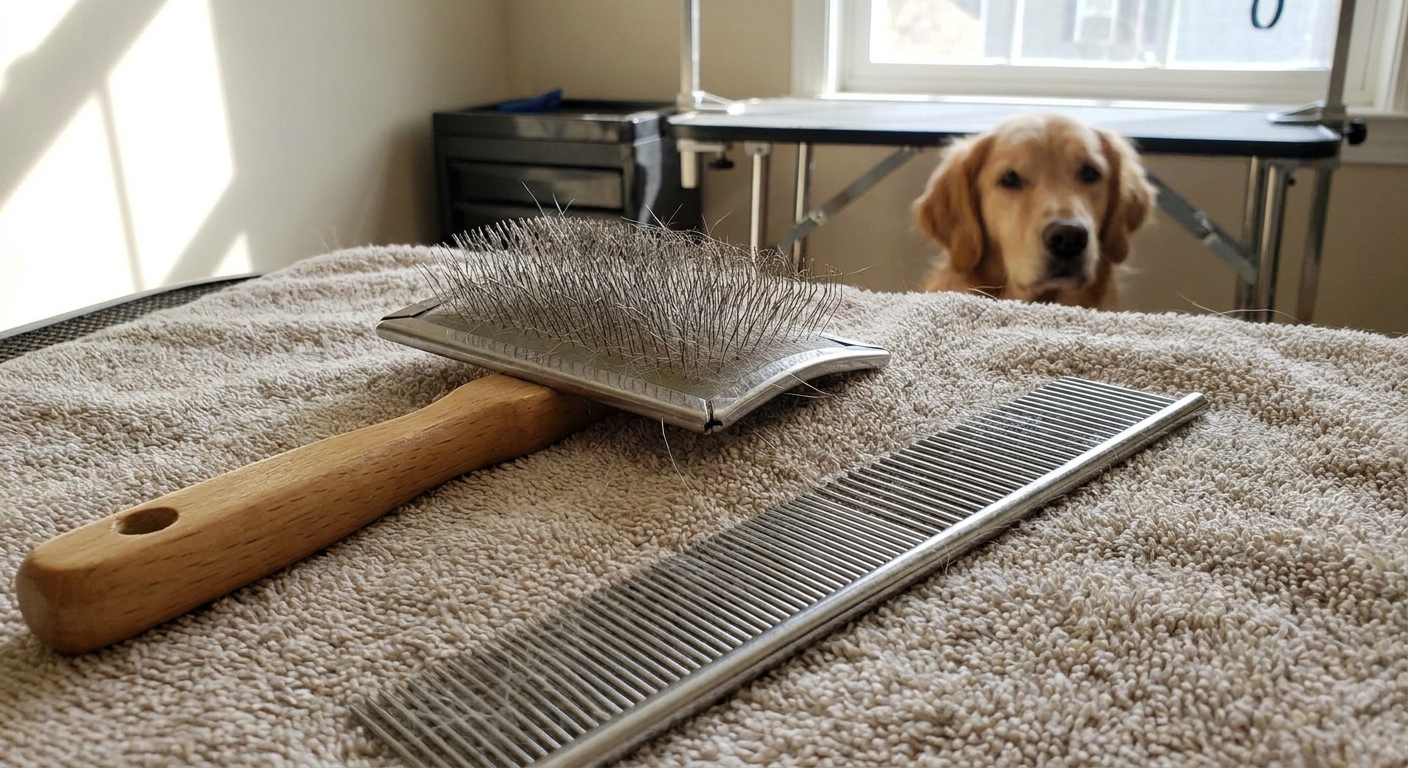
One common mix-up: rake vs deshedding tool
Many owners use “undercoat rake” as a catch-all term, but it helps to know what you are holding. A true undercoat rake has widely spaced teeth meant to lift loose undercoat. A deshedding tool or shedding blade (often the Furminator-style design) usually has finer, tighter teeth and can remove a lot of coat quickly. Those tools can be effective, but they are also easier to overdo, especially on short coats and sensitive skin.
Common mistakes to avoid
Mistake: Brushing only the top layer
Fix: Line brush, then comb. If the comb does not go through, you are not done yet or the coat is matted and needs professional help.
Mistake: Grooming too long in one spot
Fix: Fewer passes, lighter pressure, and move around the body. If you see pink skin, stop. “A little every day” beats “a lot all at once.”
Mistake: Trying to power through discomfort
Fix: Use cooperative care. Brush two strokes, treat. Pause. Let your dog opt in again. You will get more done long-term with short, positive sessions than with one stressful marathon.
Do not use on
Skip rakes and slickers, or stop immediately, if you notice:
- Open sores, scabs, or irritated skin
- Hot spots or oozing areas
- Parasites or suspected skin infection
- Severe mats or impacted coat
In those cases, it is safer to get a groomer or veterinarian involved first, then build a maintenance routine once the skin and coat are back in good shape.
When to call a groomer or vet
Home grooming is great, but there are times when you should bring in backup:
- Coat is packed or impacted: Undercoat is felted close to the skin, common after missed grooming or heavy shedding seasons.
- There are true mats: Tight mats pull skin and can hide sores. Cutting them out at home can be dangerous.
- Skin looks inflamed, scabby, or has a strong odor: This can signal infection, allergies, parasites, or hot spots.
- Your dog panics during grooming: A trainer can help with a plan, and a groomer can sometimes work in short sessions with the right setup.
FAQ
Can I use both an undercoat rake and a slicker brush?
Yes, and many double-coated dogs do best with both. Use the rake to pull loose undercoat during shedding season, then use the slicker to smooth and to work on feathering and small tangles. Finish with a comb check in friction areas.
Do these tools reduce shedding permanently?
No tool stops shedding. What they can do is remove loose hair before it falls out in your home, reduce clumps, and help you keep the coat in better shape.
How often should I deshed?
For at-home maintenance on a healthy dog, 1 to 3 short sessions per week is a sweet spot. During peak seasonal coat blow, some dogs benefit from brief daily sessions. Adjust for coat type and tolerance. If skin gets pink or your dog seems sore, back off and shorten sessions.
My dog hates the brush. What is the fastest way to fix that?
Skip “fast.” Go for “effective.” Pair the tool with tiny treats, start with one or two gentle strokes, and quit while your dog is still relaxed. Over a week or two, you build tolerance. For intense fear, work with a certified trainer who uses cooperative care and positive reinforcement.