A practical guide to Poodle brushing, grooming schedules, puppy coat changes, and ear care, with step-by-step tips to prevent painful mats.
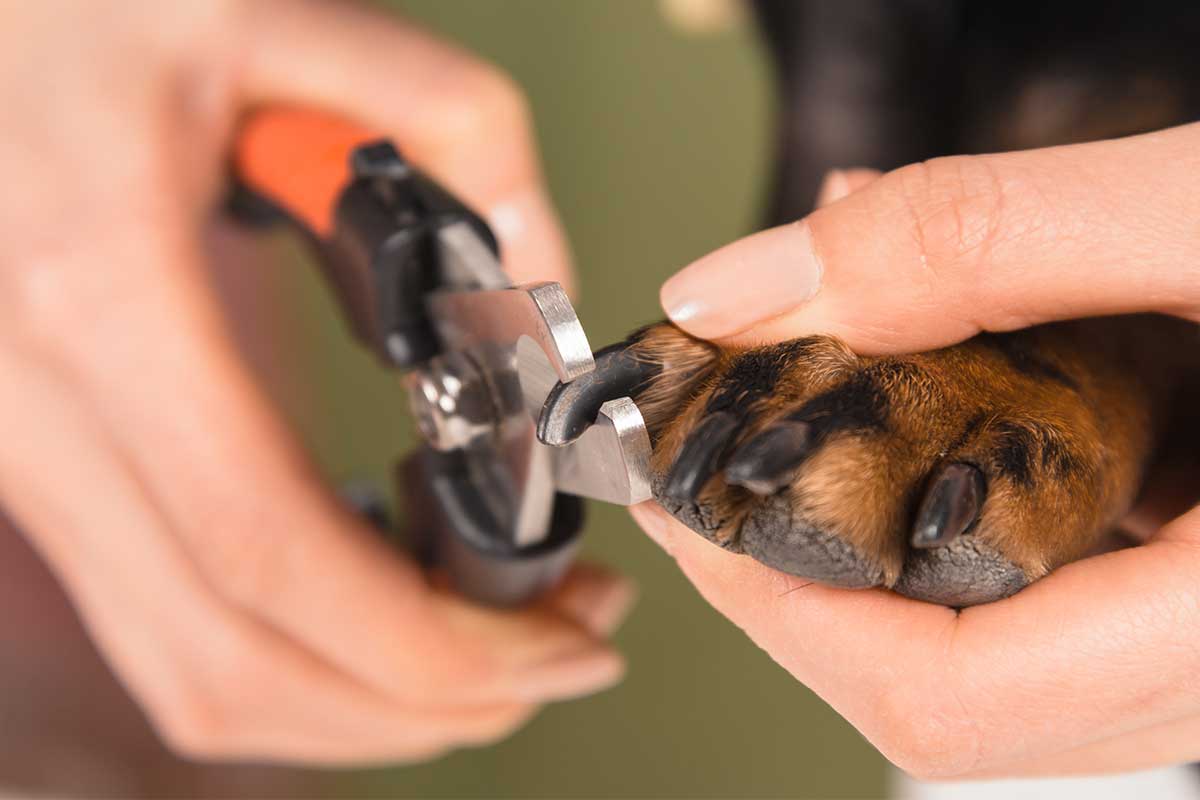
If nail trims make your stomach drop, you are not alone. I’ve met plenty of wonderful, attentive dog parents who can handle baths, ear cleaning, and even medication, but freeze up when it’s time to touch toes.
The good news is that safe at-home nail trims are absolutely learnable. You do not need a steady hand from birth. You need the right tools, a plan to avoid the quick, and a simple way to help your dog feel comfortable. I’ll walk you through exactly how I teach clients (and how I survive trimming my own two rescue tornadoes, Barnaby and Luna).
Why nail trims matter
Overgrown nails are not just a cosmetic issue. When nails get too long, dogs often change the way they stand and walk. Over time, that can stress joints and contribute to soreness, especially in seniors or dogs with arthritis.
- Traction and slipping: Long nails reduce grip on smooth floors.
- Pain and pressure: Nails can push the toe upward when they hit the ground.
- Injuries: Long nails snag, crack, or tear more easily.
- Quick creep: The longer the nail, the longer the quick can grow, making future trims harder.
Nail anatomy basics
The quick is the living tissue inside the nail. It contains blood vessels and nerves. If you cut into it, it hurts and it bleeds. That’s why we trim tiny amounts and use a strategy that keeps you safely away from that sensitive area.
On dogs with light nails, the quick is often visible as a pinkish triangle inside the nail. On dogs with black nails, you can’t see it from the outside, so you rely on small “slices,” good lighting, and reading the cut surface.
Extra safety note: If your dog has a clotting disorder, is on blood thinners, or you have any reason to suspect they bleed easily, talk to your veterinarian before you start.
Tools you’ll want
Having everything within reach keeps the session calm and short. If you have to rummage in a drawer mid-trim, most dogs will take that as their cue to leave.
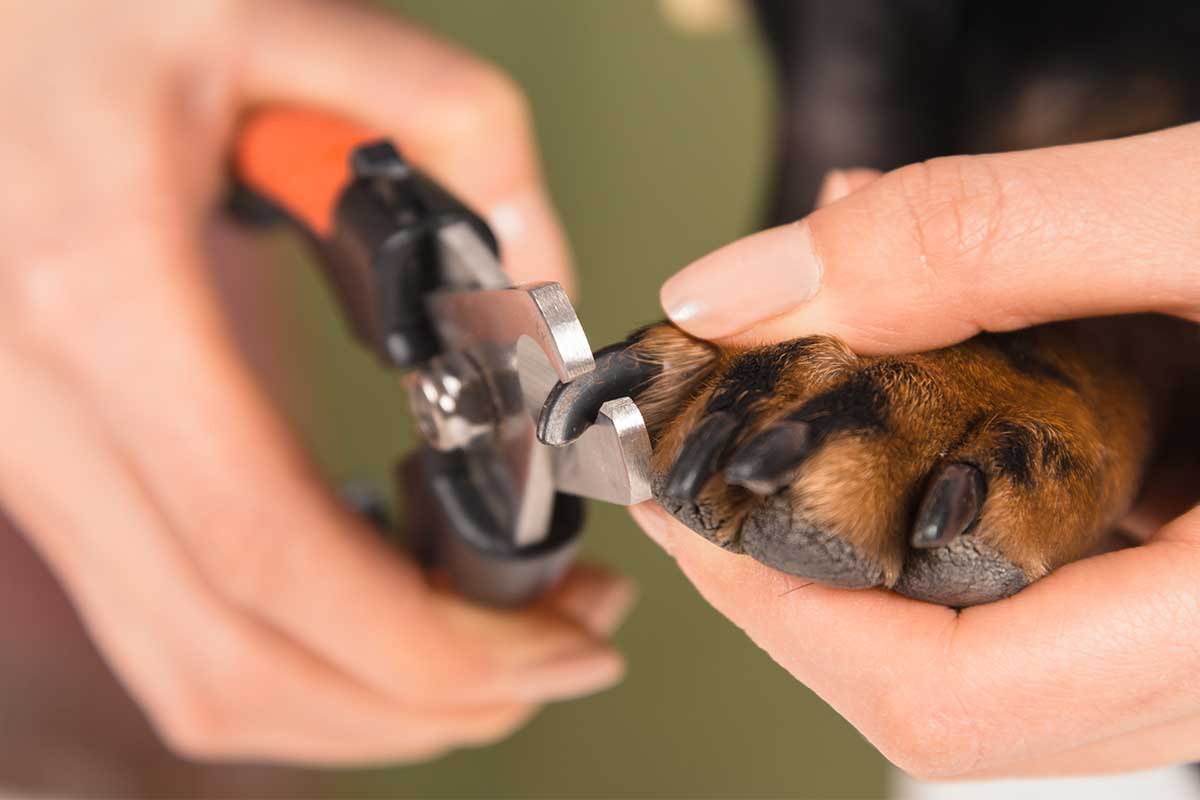
- Nail clippers: Scissor-style (often great for medium to large dogs) or guillotine-style (a ring you slide the nail through, then a blade trims when you squeeze). Choose what feels safest in your hand.
- Nail grinder (optional): Helpful for smoothing sharp edges and for tiny incremental shortening.
- Styptic powder or styptic pencil: For quick nicks.
- Cornstarch (backup only): It may help slow minor bleeding in a pinch, but it is not as reliable as styptic for a quick nick.
- High-value treats: Small, soft, and fast to chew. Think chicken, cheese bits, or a squeeze tube treat.
- Good lighting: A bright overhead light or a lamp aimed at the paw.
- Non-slip surface: Yoga mat, bath mat, or rug so your dog feels stable.
Trainer tip: If you feel shaky, sit on the floor and brace your forearms on your thighs. Stable body position helps your hands stay steady.
Before you trim
Pick the best time
A slightly tired dog is your friend. After a walk, play session, or training game is ideal. Avoid starting right when your dog is amped up or right before guests arrive.
Choose a comfortable position
- Small dogs: On your lap or a sturdy table with a non-slip mat (only if your dog is comfortable being up there).
- Medium and large dogs: On the floor. Many dogs do best standing or lying on their side.
If your dog hates being restrained, skip the “wrestling hold.” We can make progress without pinning anyone down.
Do a quick paw check
Look for cracked nails, redness, swelling, broken dewclaws, or sore toes. If something looks painful, pause and call your veterinarian. Trimming a painful foot can create long-term nail trim fear fast.
Dewclaw reminder: Check all four feet. Some dogs have rear dewclaws too, and they do not wear down naturally.
Puppies and new dogs
If you have a puppy or a newly adopted dog, start with ridiculously short sessions. Touch paw, treat, done. One nail, treat, done. You are building a lifetime skill here, not winning a one-day contest.
Step-by-step trimming
Step 1: Start small
Your first goal is not “all four feet, perfect length.” Your first goal is “one nail, calm dog.” End on a win and build from there.
Step 2: Hold the paw gently
Support the paw with one hand and isolate a single toe using your fingers. You want the toe steady, not squeezed.
Step 3: Find the angle
Trim just the tip, following the natural curve of the nail. Avoid taking off big chunks. Small, controlled cuts are how you stay safe.
- Light nails: Stay a few millimeters in front of the pink quick, then reassess.
- Black nails: Trim paper-thin slices off the tip.
Step 4: Micro-cuts and check the surface
Make one small cut, then look at the cut surface (the cross-section of the nail).
- What you want to see: A solid, dry-looking center.
- When to slow down or stop: If you see a darker center that looks softer, slightly shiny, or like a small dark dot forming, you are getting close. That cue can look a little different dog to dog, so when in doubt, stop early.
- Hard stop: If you see any pink, or you get even a tiny spot of blood, you are at the quick.
This is the single best habit for avoiding quick nicks: small cut, check, repeat.
Step 5: Pay your dog after each nail
Treat like you are paying your dog for a job well done. Because you are. For nervous dogs, treat after every touch and every cut at first.
Step 6: Smooth sharp edges
Freshly clipped nails can be pointy. If your dog tolerates it, use a grinder for a quick smooth. If not, a few gentle strokes with a nail file can help.
Grinder safety: Use light, brief touches to prevent heat buildup. Keep hair, skin, and loose dewclaw fluff away from the spinning tip. If your dog worries about the vibration or sound, go back to conditioning (below).
Step 7: Quit while you’re ahead
If your dog is calm and you have momentum, do a few nails. If your dog is getting wiggly, stop. A calm partial trim today beats a stressful full trim that creates fear for next time.
How short is short enough?
In a perfect world, your dog’s nails do not click loudly on hard floors. That said, coat type, gait, age, and flooring all matter, so use this as a guideline, not a strict rule.
- Standing test: When your dog is standing square, the nails should not visibly push the toes up.
- Dewclaws: Don’t forget them. They can overgrow or curl.
If your dog’s quicks are long (very common), you may need a gradual reset plan: trim a tiny amount weekly (and for some dogs, twice weekly) to encourage the quick to recede over time. Keep the trims truly tiny, stop at the first “close to the quick” signs, and get professional help if nails are severely overgrown or curling.
Low-stress plan for nervous dogs
If your dog panics, growls, or bolts at the sight of clippers, don’t force it. Nail trims can be conditioned like any other skill. Think of it as teaching “nails” the same way you teach “sit,” just with smaller steps.
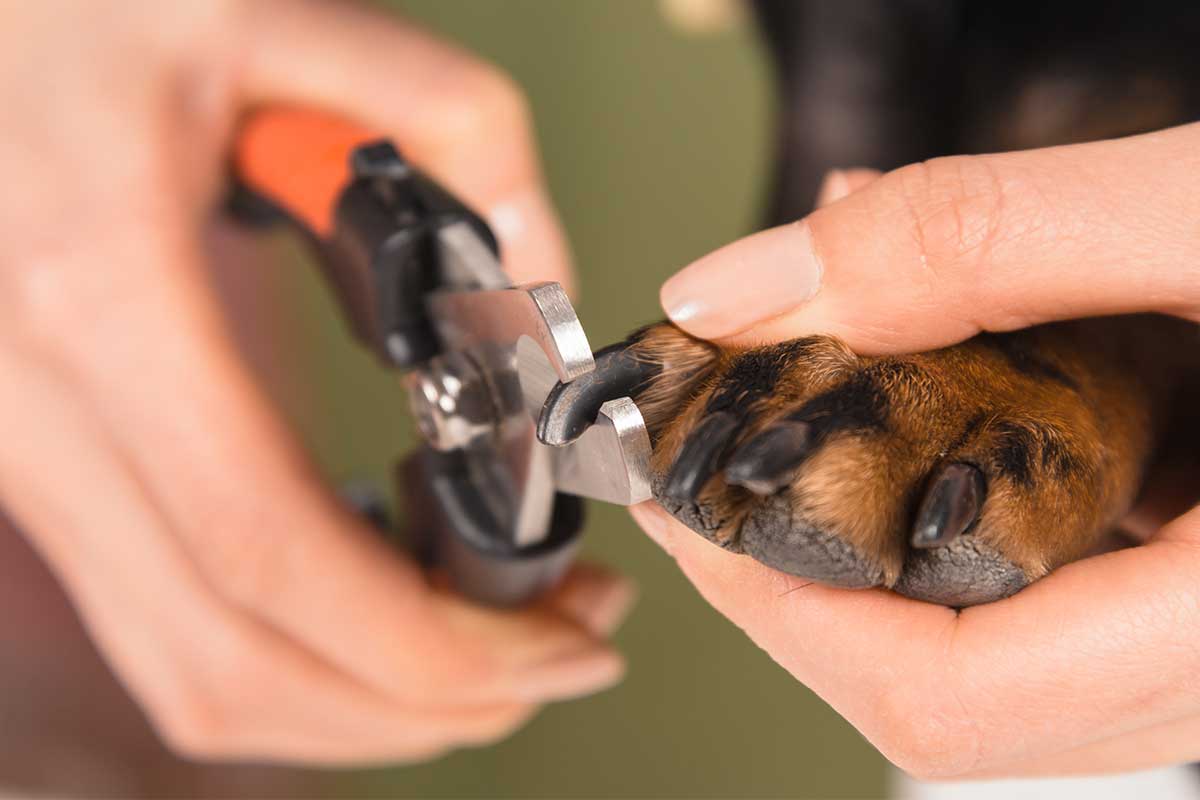
Phase 1: Paw touch equals treats
- Touch paw for one second, then treat.
- Repeat 5 to 10 times, then stop.
- Slowly increase duration and add gentle toe holds.
Phase 2: Tool appears, nothing happens
- Show the clippers or grinder, then treat.
- Set the tool down, treat.
- Pick it up, treat.
Your dog should look relaxed, not frozen. If you see lip licking, whale eye, tucked tail, or sudden stillness, you moved too fast.
Phase 3: Tool near paw
- Hold paw, bring tool near for one second, treat.
- Tap the clipper lightly on a nail (no cutting), treat.
Phase 4: One nail only
Trim a tiny sliver from a single nail, then do the mini party and end the session. For example: three quick treats in a row, cheerful praise, then you put the tools away and your dog gets a break.
Grinder noise practice
For grinders, start with the sound far away. Turn it on across the room, treat, turn it off. Slowly bring it closer over multiple sessions. Some dogs do better if you put your body between them and the grinder at first.
If you hit the quick
First, take a breath. Quick nicks happen to professionals too. The goal is to handle it calmly so your dog does not learn that nail trims equal panic.
- Apply styptic: Press styptic powder onto the nail tip with gentle pressure for 20 to 60 seconds.
- Keep it clean: Avoid letting your dog lick it excessively. A brief distraction with a chew can help.
- Stop the session: Even if bleeding stops quickly, end on a calm note and try again another day.
When to call your vet: If bleeding does not stop after a few minutes of steady pressure and styptic, if the nail is torn or cracked up the nail, or if your dog is very painful.
Common mistakes
- Cutting too much at once: Switch to micro-cuts. Especially on black nails.
- Dull clippers: Dull blades crush and split nails. Replace or sharpen.
- Skipping dewclaws: Put a reminder in your routine. Dewclaws are frequent “oops” nails.
- Only trimming when nails are very long: Short, frequent sessions are less stressful and help quicks recede.
- Holding the paw too tightly: Use support, not restraint. Tight grips often increase wiggling.
How often to trim
Many dogs do well with nail maintenance every 2 to 6 weeks, but it truly varies. Some dogs need weekly attention, and some can go longer, depending on nail growth, age, gait, and what surfaces they walk on.
If you are working on quick recession, plan for weekly tiny trims (and occasionally twice weekly for fast-growing nails) until you reach a comfortable length.
When to use a pro
You are not failing if you decide this job belongs to a professional. Consider a groomer or veterinary visit if:
- Your dog has a history of biting during nail handling.
- Your dog’s nails are extremely overgrown or curling into paw pads.
- Your dog has orthopedic pain and cannot comfortably hold positions for trimming.
- You feel too anxious to do it safely (dogs notice, I promise).
If your dog is truly terrified, ask your vet about a plan that may include pain control, anxiety support, or referral to a force-free trainer who does cooperative care.
FAQ
Is it better to clip or grind?
Either can be safe. Clippers are fast. Grinders allow very gradual shortening and rounding, which can be great for black nails. Many households use both: clip to remove length, grind to smooth.
My dog’s nails are black. How do I know where to stop?
Use bright light and take thin slices. After each cut, look at the nail surface. Stop when you see signs you are approaching the quick (often a darker, softer-looking center or a small dark dot that starts to appear). If you see any pink, stop. When in doubt, stop early and trim again in a few days.
Why do my dog’s nails still click after I trim?
Clicks can mean they are still a bit long, but it can also be normal depending on gait and flooring. If quicks are long, you may need several weeks of tiny trims to reach a quieter length safely.
Can I trim nails while my dog is sleeping?
I do not recommend it for most dogs. If they startle awake, you can create a fear response around paw handling. It is better to teach your dog to opt in and get paid in treats.
A calm finish line
If you only take one thing from this guide, let it be this: small, consistent sessions beat one big stressful trim. Your dog does not need perfection. They need predictability, gentle handling, and rewards that make the whole routine feel safe.
Start with one nail today. Tomorrow, do one more. In a couple of weeks, you will look back and wonder why this ever felt so intimidating.