A practical guide to Poodle brushing, grooming schedules, puppy coat changes, and ear care, with step-by-step tips to prevent painful mats.
If you have ever caught a whiff of “corn chip ear” and wondered if it is normal, you are not alone. A healthy ear can have a mild, neutral smell and a little wax. But a distinct Frito or “corn chip” odor can also be an early sign that yeast or bacteria are starting to build up, especially if the smell is new or getting stronger. The good news is that safe ear cleaning is simple once you know what to look for and what not to do.
I am going to walk you through a calm, dog-friendly routine that protects the ear canal (and your relationship), plus the red flags that mean it is time to loop in your veterinarian.
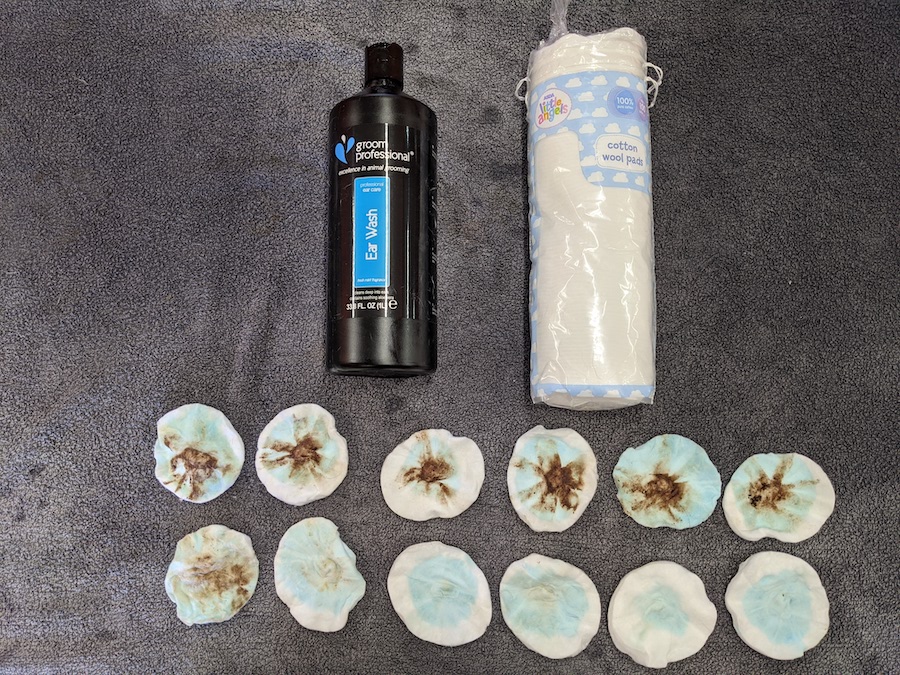
First: should you clean your dog’s ears at all?
Some dogs truly do not need routine ear cleaning. Others benefit from it, especially dogs with allergies, frequent swimming, or those adorable floppy ears that limit airflow.
Ear cleaning can help for:
- Dogs who swim or get frequent baths
- Dogs with floppy ears (like Cocker Spaniels, Basset Hounds, Beagles, and many Retrievers)
- Dogs with hairy ear canals (like Poodles and many Doodles, though it varies)
- Dogs with allergies who build up wax and debris
- Dogs who have had ear infections before, but only with your vet’s guidance on frequency and product
Cleaning is not treatment
If your dog has an active ear infection, cleaning alone will not cure it. In some cases, cleaning can make a painful ear feel worse or delay proper care.
Normal vs problem ears
A healthy ear usually looks pale pink inside with a light coating of wax. Your dog should not act bothered when you touch the ear flap.
Signs you need a vet check (not just cleaning)
- Strong odor (yeasty, sour, or just “off”)
- Head shaking or frequent ear scratching
- Redness, swelling, or heat
- Dark brown, yellow, or pus-like discharge
- Crusts or scabs on the ear flap
- Pain when you touch the ear, pulling away, yelping
- Ear held down or head tilt
- Balance issues or circling
A quick sniff test helps
I tell pet parents this all the time: get familiar with what your dog’s ears normally smell like. If the odor changes noticeably, that can be an early clue that yeast or bacteria are getting comfortable.
And one more thing: ear mites are more common in cats, but dogs can get them too. They can cause intense itchiness and dark debris that looks like coffee grounds. The fix is not guesswork. Your vet can confirm what is going on and treat it correctly.
What you need (and what to avoid)
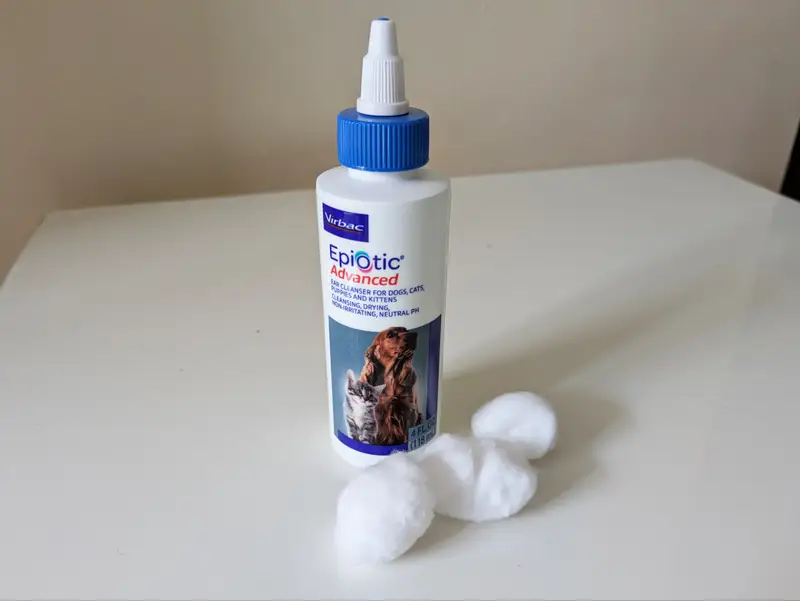
Grab these supplies
- Veterinary ear cleaning solution made for dogs
- Cotton balls or cotton rounds (soft, absorbent, gentle)
- Towel (because the shake is coming)
- Treats you can deliver quickly and often
Avoid these common mistakes
- Do not use Q-tips in the ear canal. They can push debris deeper and irritate the canal. In rare cases, they can injure the eardrum, especially if a dog moves suddenly.
- Do not use hydrogen peroxide unless your veterinarian specifically instructs you. It can be irritating and drying, especially with repeated use.
- Avoid DIY vinegar mixtures, especially if the ear looks raw, ulcerated, or very red. Some vets do recommend vet-formulated acidifying ear cleaners for certain dogs, but that is different from home kitchen mixes.
- Do not use alcohol in the ear. It stings inflamed tissue and can worsen irritation.
- Do not use essential oils. They are a common source of irritation and can carry toxicity risk.
- Do not use human ear drops or leftover pet medications unless your veterinarian prescribed them for this specific ear problem. Using the wrong medication can delay treatment or cause harm if the eardrum is not intact.
Choosing the right ear cleaner
For everyday maintenance, look for a dog ear cleaner labeled as gentle and designed to break up wax and help dry the ear without being harsh. Some products include drying agents for swimmers, while others are formulated for waxy buildup.
If your dog has recurring infections, allergies, or a history of yeast overgrowth, ask your vet which cleaner is appropriate. Using the wrong product can throw off the ear’s normal environment and backfire.
Step-by-step ear cleaning
This is a simple routine I teach pet owners so they can clean ears safely at home. The goal is to clean the outer ear canal and the inside of the ear flap without poking around where you cannot see.
1) Set up a calm, grippy spot
Choose a bathroom, laundry room, or anywhere easy to wipe down. Put down a towel or non-slip mat so your dog feels stable. Have treats within reach.
2) Do a quick visual check
Lift the ear flap and look inside. If you see heavy swelling, bleeding, thick discharge, or your dog seems painful, stop and call your vet.
3) Add ear cleaner carefully
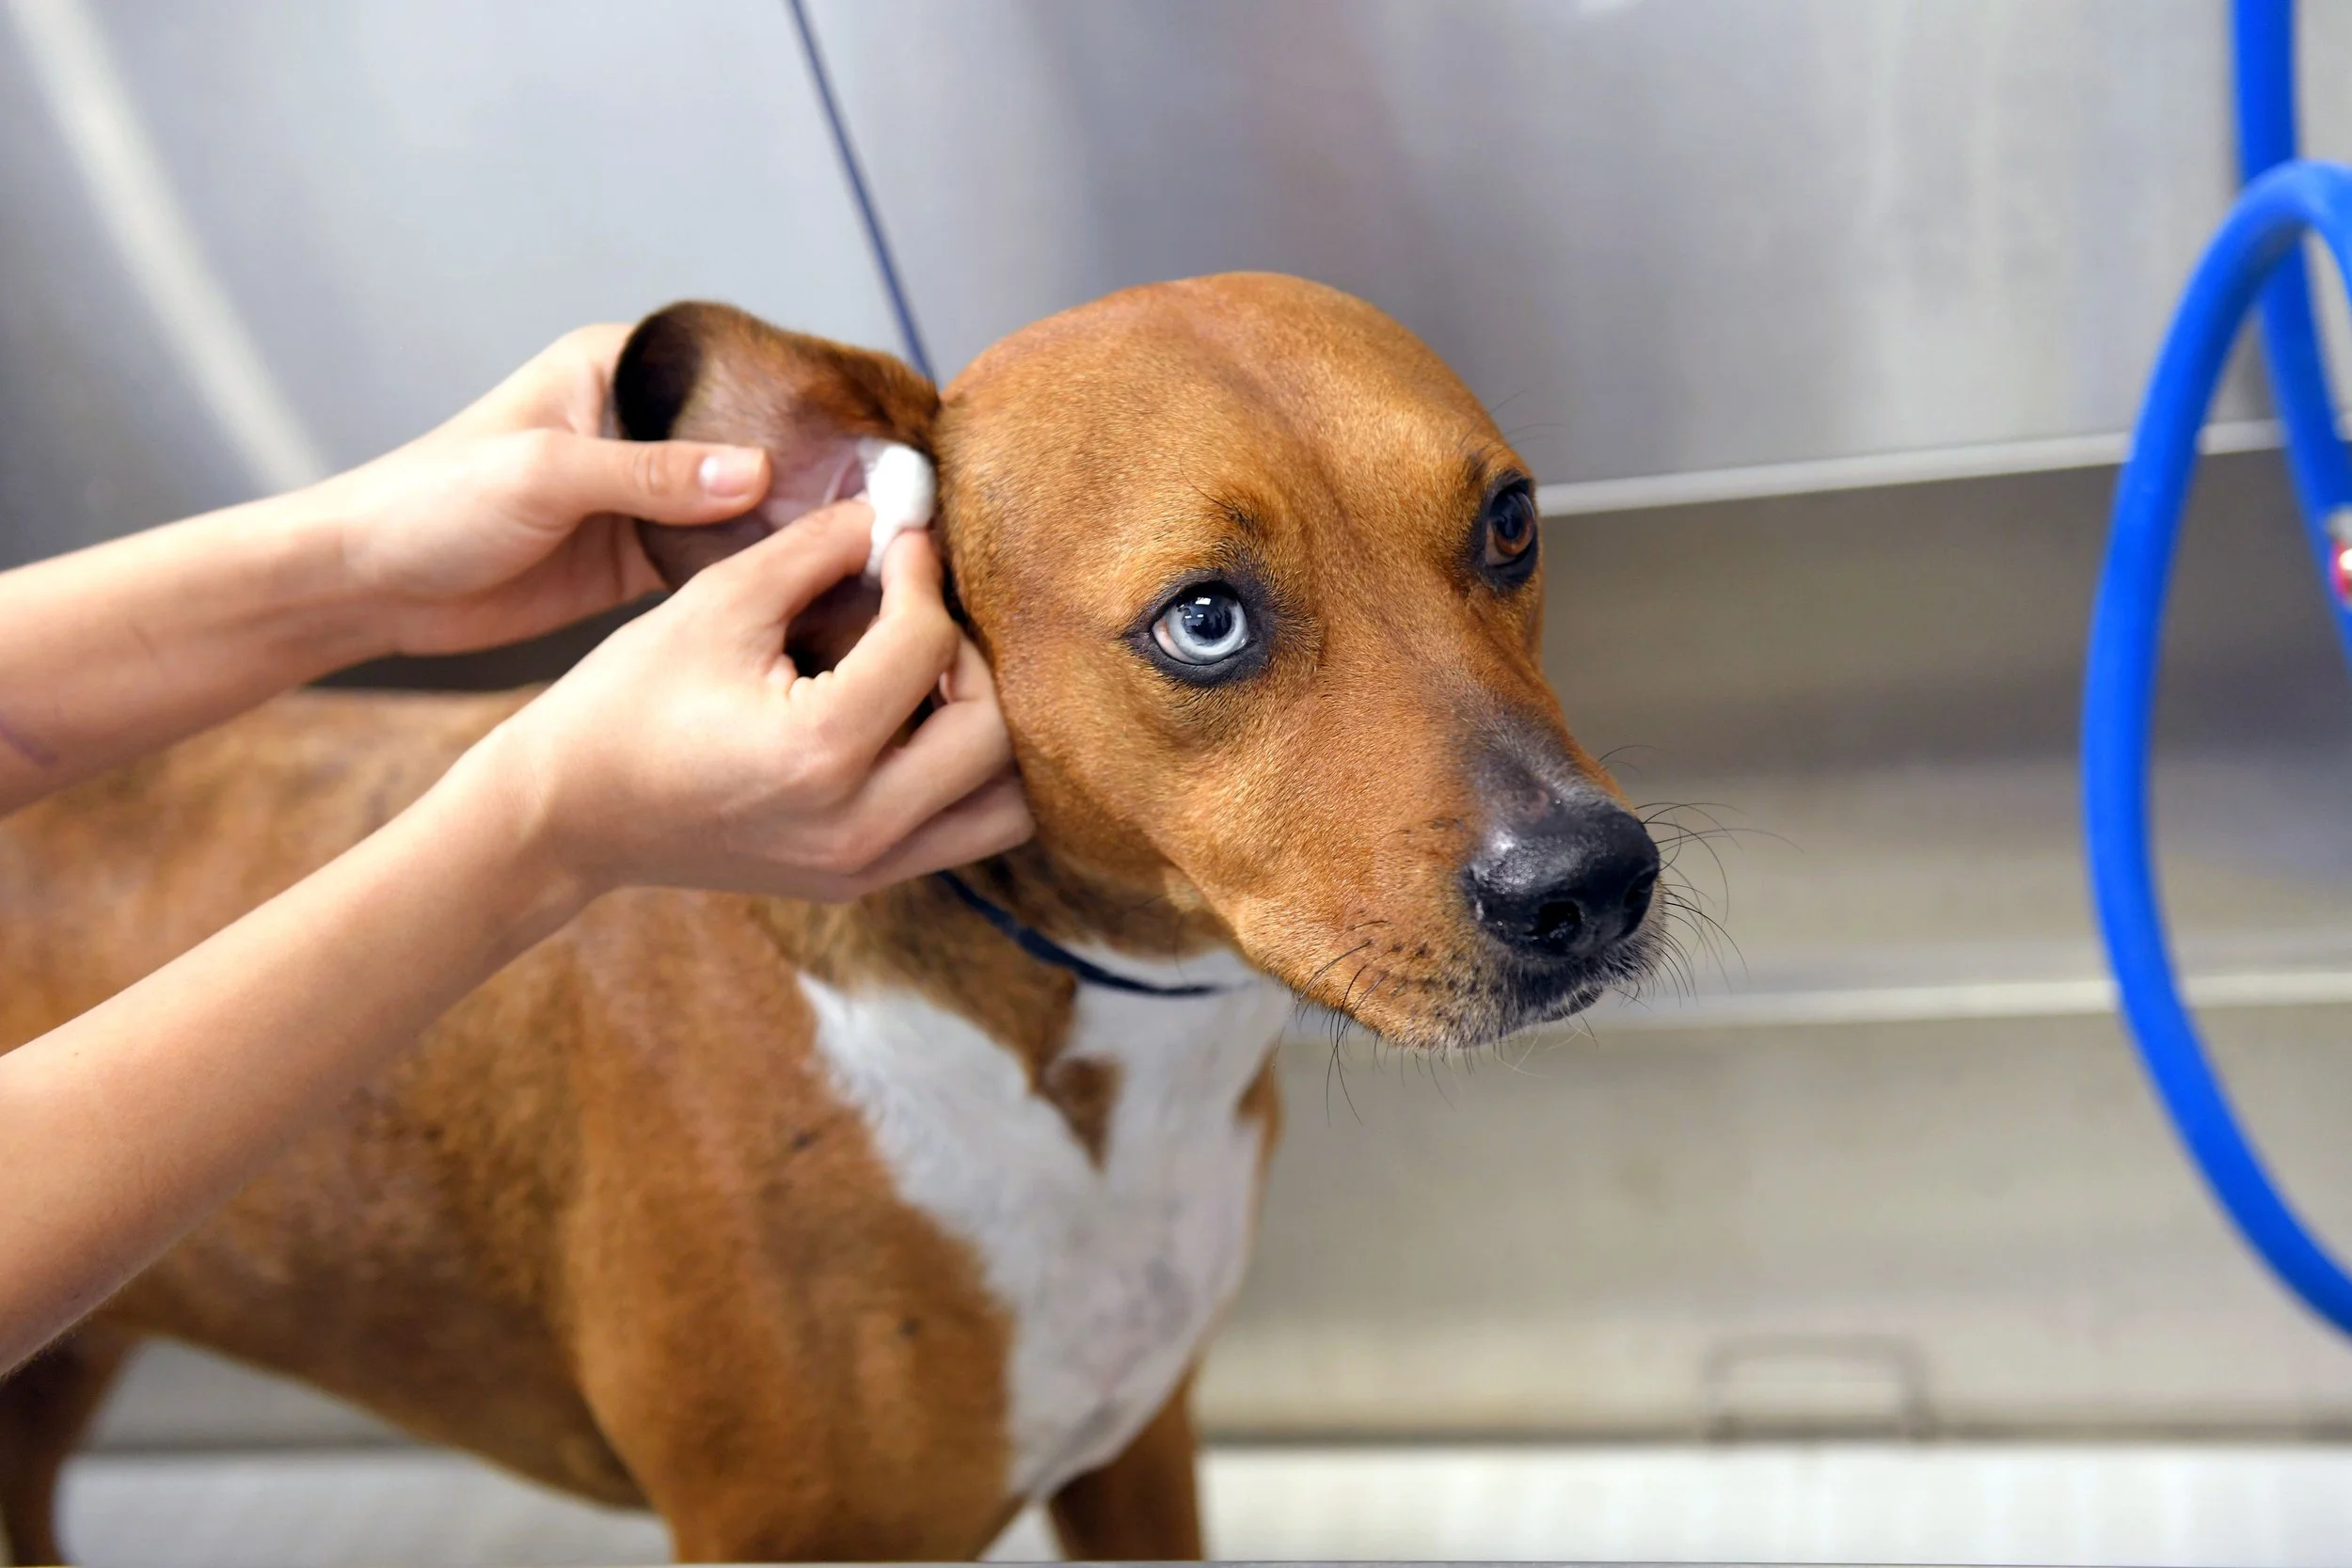
Hold the ear flap up and gently squeeze ear cleaner into the ear canal opening (the vertical canal entrance you can see). You do not need to “fill” the ear dramatically, but you want enough to wet the canal so it can loosen debris.
Tip: Do not touch the bottle tip to the ear. That keeps the bottle cleaner and reduces the chance of spreading infection between ears.
4) Massage the base of the ear for 20 to 30 seconds
This is the magic step. Use your fingers to massage the base of the ear (where it meets the head). You should hear a soft squishing sound. That means the cleaner is moving around and breaking up wax.
5) Let your dog shake
Step back and let the shake happen. That shaking helps bring loosened debris up and out.
6) Wipe what you can see
Use a cotton ball or cotton round to wipe the inside of the ear flap and the visible part of the ear canal opening. Replace cotton as it gets dirty.
Stop when the cotton comes away mostly clean. Also stop if the ear looks red, your dog seems uncomfortable, or you find yourself needing to scrub. That is a good moment to call your vet.
Rule of thumb: If you cannot see it, do not swab it.
7) Reward and end it
Keep it quick. Treat, praise, and take a break if your dog is stressed.
How often to clean
The honest answer is: it depends. Over-cleaning can irritate the ear canal and cause more problems.
- Most dogs: only as needed, when you see mild wax buildup or after dirty adventures
- Swimmers: often after swimming, using a vet-approved drying ear cleaner if recommended
- Allergy dogs: your vet may suggest a schedule, often 1 to 3 times per week during flare-ups
- Dogs prone to infections: follow your vet’s plan closely, especially if medicated drops are involved
If you are unsure, ask your veterinarian to show you what “normal wax” looks like for your dog and how often they recommend cleaning based on ear anatomy and history.
When cleaning can backfire
There are times when cleaning is not just unhelpful, it can be harmful. Skip home cleaning and call your vet if:
- Your dog is in obvious pain when you touch the ear
- The ear is very red, swollen, or hot
- You see bleeding, ulcers, or a lot of thick discharge
- Your dog has a head tilt, balance issues, or seems disoriented
- You suspect a foreign body (like a foxtail), especially after hiking
- Your dog has had a ruptured eardrum in the past or you suspect one now
Veterinarians can look deep into the ear with an otoscope, check the eardrum, and do cytology (a quick microscope check) to see if yeast, bacteria, or mites are involved. That information matters, because treatment is not one-size-fits-all.
Recurring ear infections often tie back to a bigger issue like environmental or food allergies, or sometimes endocrine problems. If you keep fighting the same ear battle, it is worth asking your vet about a deeper workup.
Cleaning with positive reinforcement
If your dog hates ear cleaning, you are not failing. Ears are sensitive, and many dogs have had uncomfortable infections or rough handling in the past. You can rebuild trust.
A mini training plan
- Day 1 to 3: Touch ear flap briefly, treat. Repeat a few times.
- Day 4 to 6: Lift ear flap, treat. Release. Keep it quick.
- Day 7+: Introduce the bottle sight and smell, treat.
- Next steps: Add one drop of cleaner, treat jackpot, stop.
Two small tips that help
- Warm the bottle in your hands for a minute. Cold solution can feel startling.
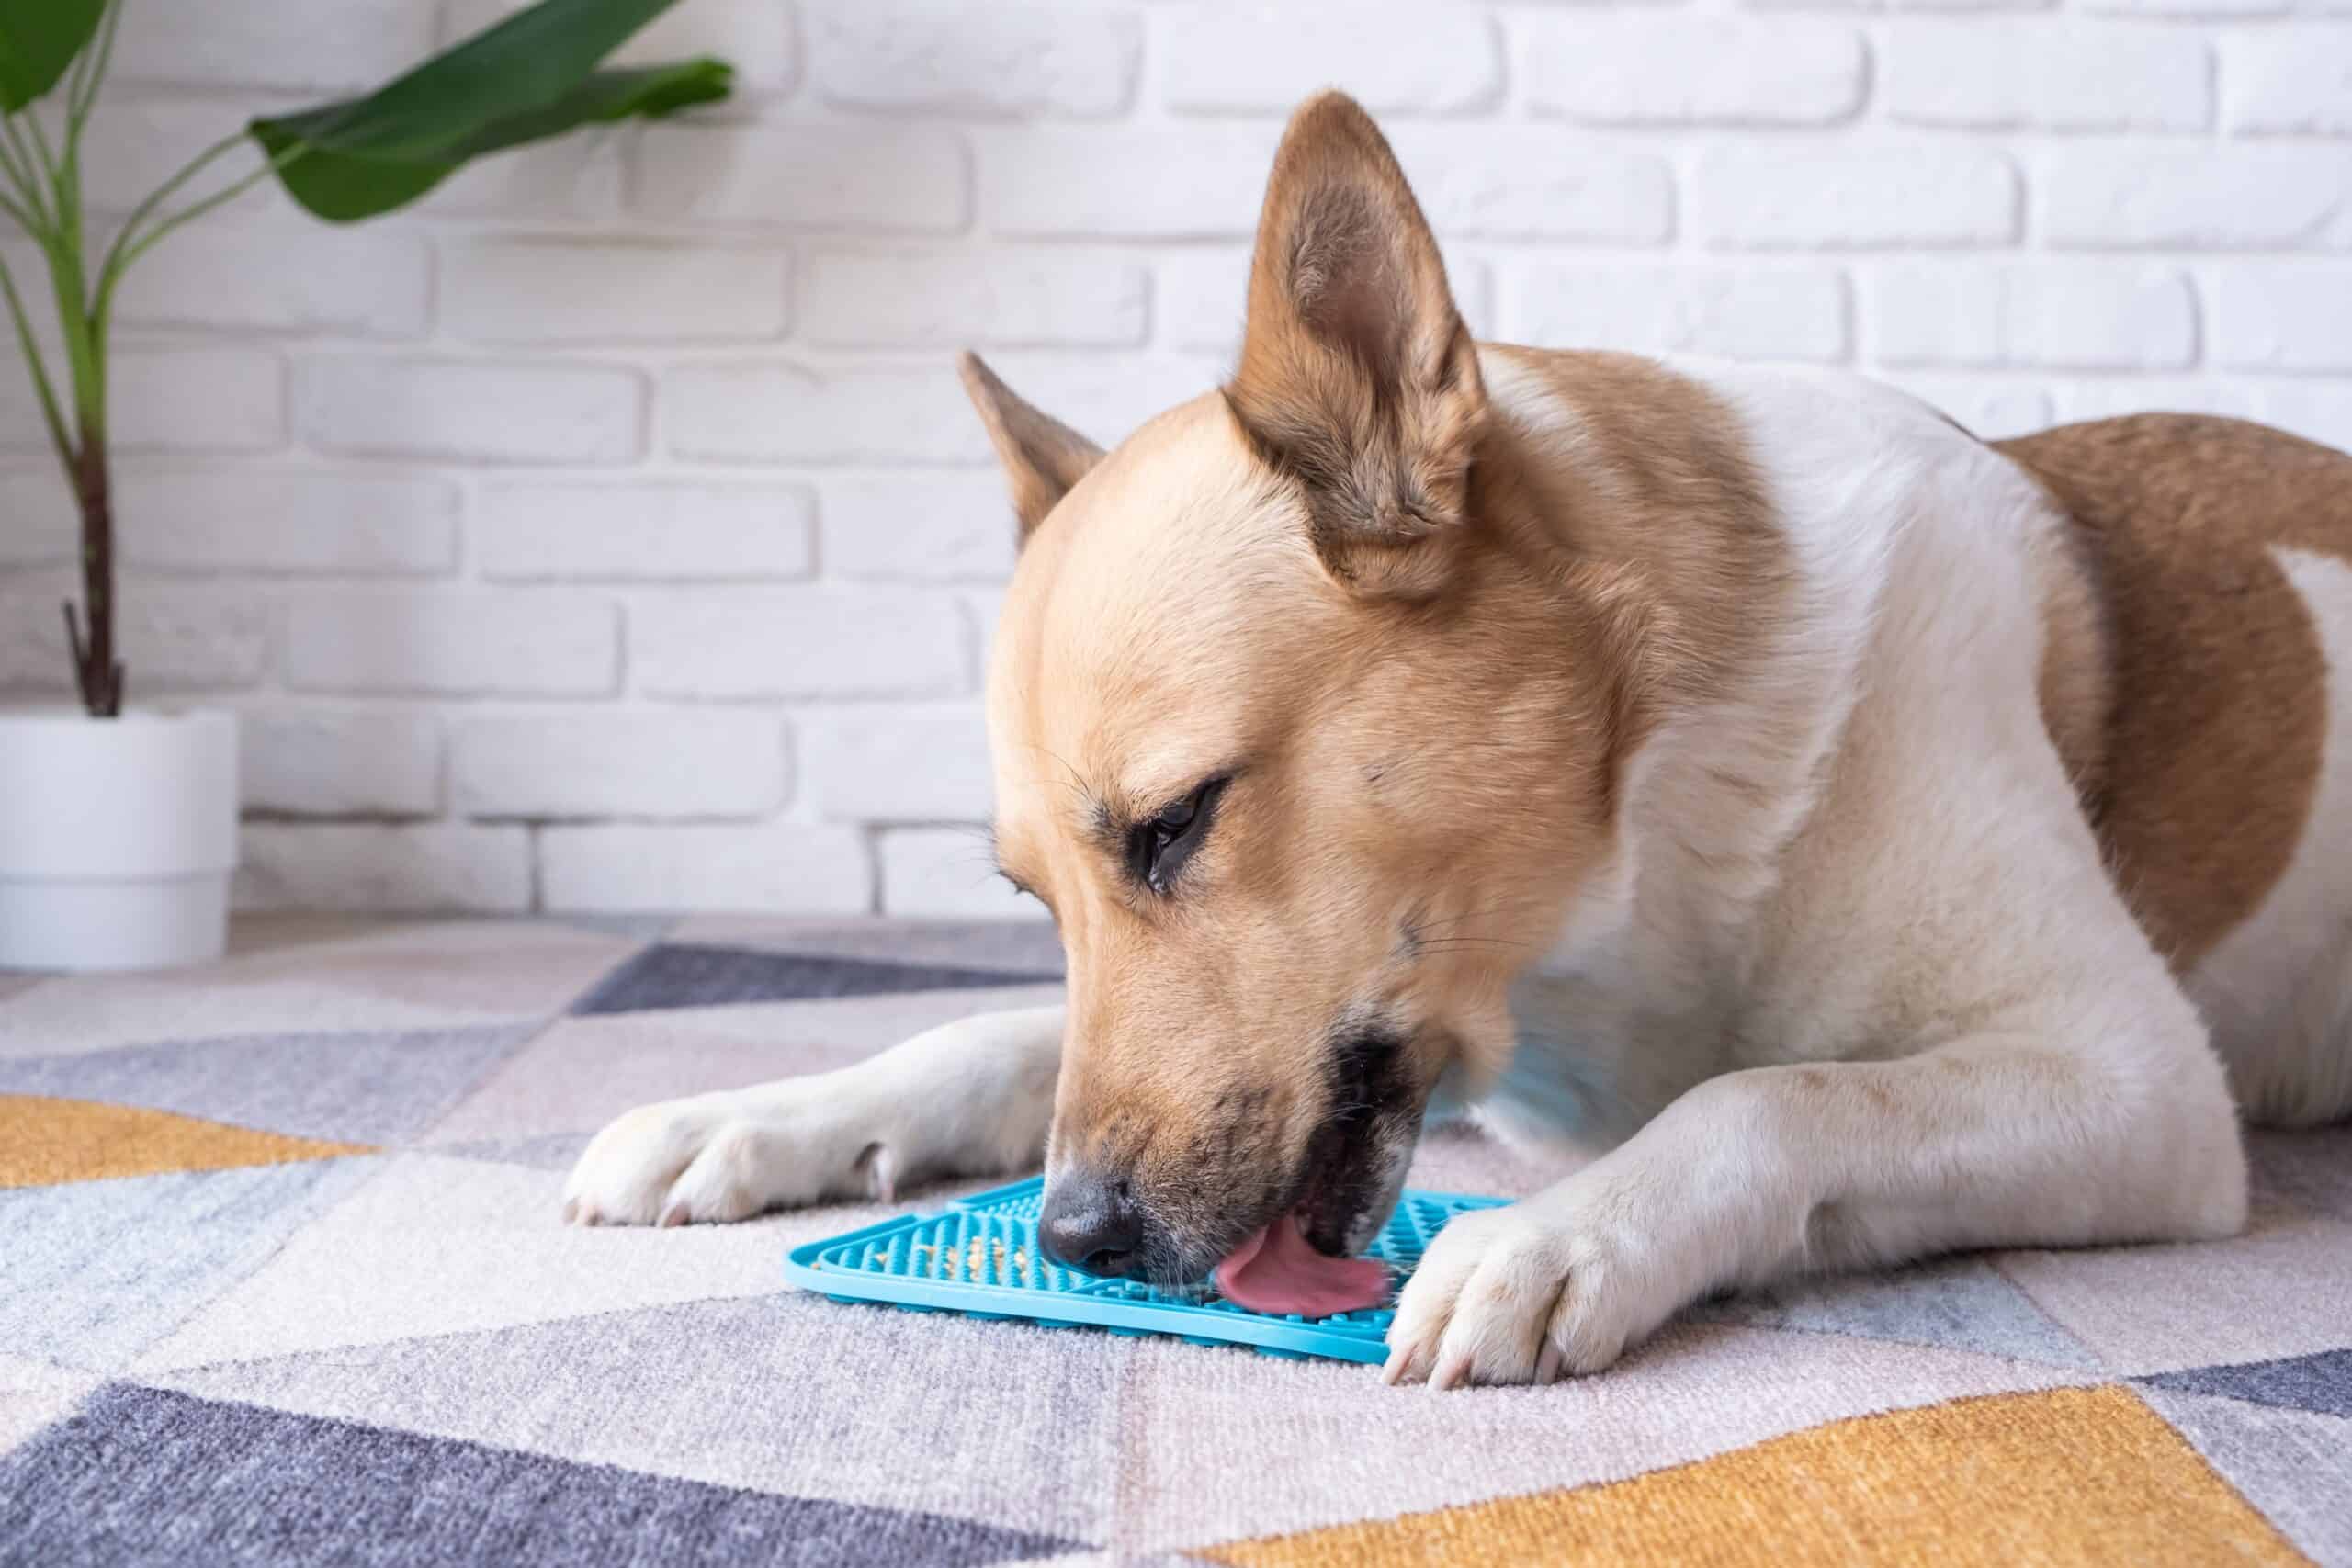
- Use a lick mat with peanut butter or canned food if your vet says it is safe for your dog. Licking is calming and keeps the head steadier.
FAQ
Can I use baby wipes to clean my dog’s ears?
I would not. Baby wipes are not formulated for the ear canal, and many contain fragrances or preservatives that can irritate. Stick with a dog-specific ear cleaner and cotton rounds.
What if my dog has lots of ear hair?
Some dogs grow hair that traps wax and moisture. Do not start plucking hair at home unless your veterinarian specifically recommends it for your dog. Plucking can inflame the canal and increase infection risk in some dogs. A groomer or vet can help you choose the safest approach.
My dog’s ears are dirty again two days later. Am I doing it wrong?
Not necessarily. Recurring debris can mean allergies, yeast overgrowth, mites, or an underlying infection that needs medication. If you are cleaning regularly and it keeps coming back, schedule a vet visit so you are not stuck in a frustrating cycle.
Is brown ear wax always an infection?
No. Some dogs naturally produce darker wax. What matters is the whole picture: odor, redness, itchiness, discharge thickness, and how your dog feels. When in doubt, get a quick ear check.
Should I clean before or after medicated ear drops?
If your vet prescribed ear medication, ask them what order they want. In many cases, cleaning first helps medication contact the skin better. But some painful or ulcerated ears should not be cleaned at home at all. Follow your vet’s timing and instructions closely.
Should I clean both ears if only one looks dirty?
You can, but use separate cotton for each ear and do not let the bottle tip touch either ear. If one ear looks significantly worse than the other, that is another clue it may be infection-related.
The bottom line
Safe ear cleaning is about being gentle, using the right product, and wiping only what you can see. Done well, it can reduce the risk of otitis externa and help you catch early changes before they turn into a painful problem.
If your dog’s ears are smelly, red, painful, or producing thick discharge, skip the DIY approach and let your veterinarian take a look. Ear issues are common, but they are also very treatable when you get the right diagnosis early.